Hi, I'm Jayme and this is my blog. Welcome! This is a place to come for crafts, DIY, furniture upcycling, recipes, occasionally the wonderful story of what my beautiful, crazy child has been up to, venting, cursing...you name it. This is my place to let my creativity flow and hopefully sharing it with you will help yours flow also!
Monday, May 19, 2014
Coffee Table Upcycle!
Well since this post is about COFFEE tables, I found this picture to be somewhat fitting. Mostly I found it to be hilarious, but that's neither here nor there. I'm sure someone else will find this as equally amusing as I did.
Okay here we go, onto the first coffee table. This one I loved, loved, loved. But the colors in my living room are brown, turquoise, and orange. (Odd colors you may think, but they look phenom) So needless to say RED wasn't going to work for me, not like I needed a coffee table, I have a nice one, but I really liked this one. Whatever, here's some pictures.
Nice pictures huh? My fancy camera did good! I painted this red one with homemade chalk paint, covered in clear & dark annie sloan wax. Boom, boom, DONE. Love the basketweave around the base of the table. So charming. Me likey very much!
Now onto the next table (AND matching side table) These picture's are not as nice. Don't judge. The furniture still rocks!
This set sucked. Well not really the set, the coffee table was a piece of cake. The side table. UGHHHHH. Give me the heebie jeebies. I found some spider egg sacs lodged in the lattice work on the front doors, so I shop-vac'd them out, nbd. I got to thinking about what the bottom might look like. I know spideys like dropping sacs wherever they can. And lo and behold... there were about 15 sacs under there. Mommy spider too. I just about went into a full blown panic. No, not panic. It was terror. What if they hatched? Like right at that exact moment?? Hundreds? THOUSANDS of spiders? Hell to the NO. No. nope. No thank you. I grabbed the shop vac again and just annihilated the little family. No regrets. I don't do spiders, june bugs, locusts, or bees/wasps. I will run and scream like a little baby. I will use you as a human shield. I don't care if I look ridiculous. Those bugs just utterly terrify me. I will cry. Ok, no more bugs, bug rant over. No more sacs = happy, beautiful, CLEAN end table! Yay! Now someone buy it in case I missed one!
Chairs, Chairs, Chairs.
Pete: There are five different types of chairs in this hotel room.
Ben: Holy fuck. What are they all doing in here?
Pete: These are five different types of chairs.
Ben: Get them out of here, man. This is too many chairs for one room.
Pete: There’s a guy that works for this hotel. His whole job is to find chairs. Look at this one. Look at it! It’s gold and red, and it’s kind of shiny, shiny thread. Unbelievable. It is beautiful and it feels amazing.
Ben: The tall one’s gawking at me and the short one’s being very droll
This is what I think of when I look at all the chairs I have fixed up.
I have upholstered,and painted all these chairs. I fell madly in love with this first one, and it is currently sitting upstairs in my living room next to the most BEAUTIFUL distressed chevron table I have ever painted. I will post a blog on that next. But here are chairs. Lots of different kinds.
Elephant Chair
Carved Rose Chairs
Kelly Green Folding Chair
Vintage Toile Chair
Vintage Table & Chairs
There you have it. That's basically almost all the chairs sitting in my house/garage at the moment. Lots of work involved in all, some more than others. They all look beautiful but that elephant chair... MINE!!
Clever Title
Chevron Dresser
One of my absolute, most favorite pieces I have done! Look at it. Just look. Did you look?? My eyeballs are heart shaped right now. So this thing was FREE. It was an ugly little duckie. Sticky stuff, hideous knobs, looked like it had been chewed on. It may have been ugly but it was definitely not trash worthy!
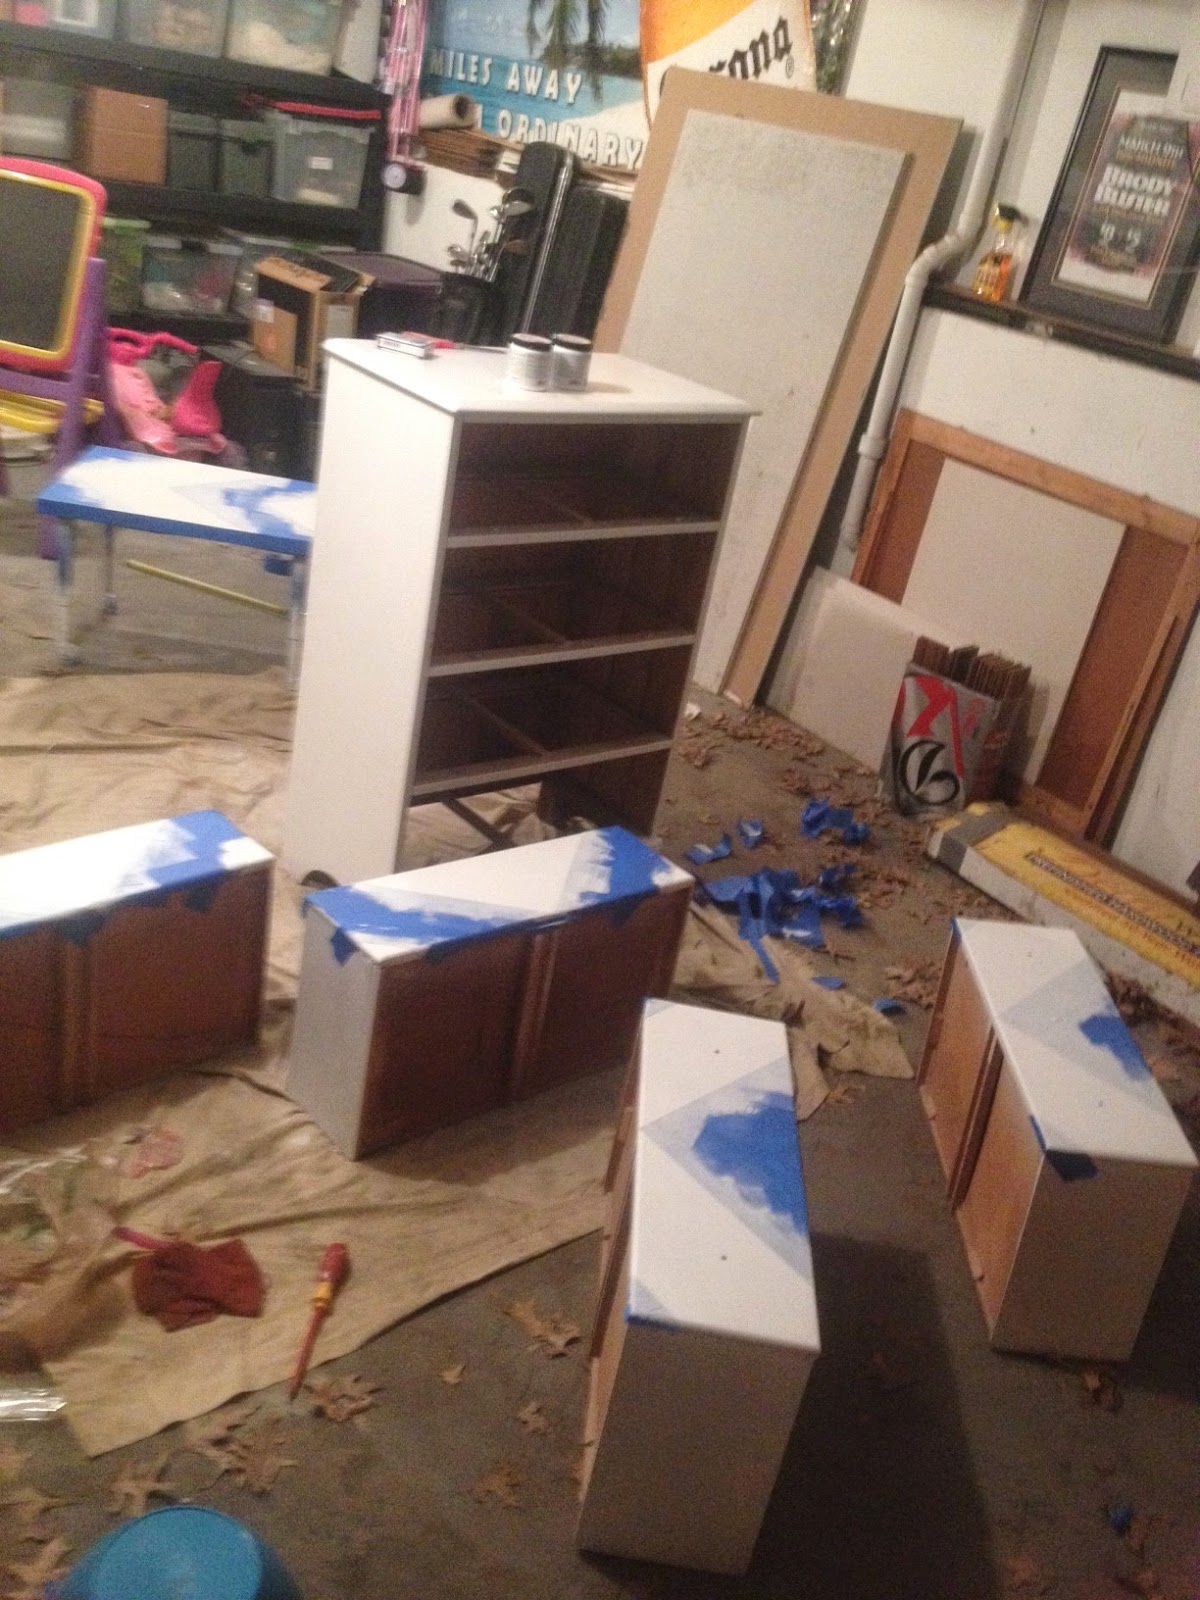
I have pretty much mastered the chevron pattern thanks to the carpenter's block. Easy peasy, takes me like NO time at all now. So that's good! Might make it one of my little trademark pieces. Add a little chevron here & there, I like it. I like the big, bold chevron though, not the zig zaggy all over the place chevron. There's a diference. I think. Whatever, I cleaned this thing up, removed the knobs, got the base coat on then got this thing taped up. Sounds easy, right?
The hardest part was cutting the tape with a razor blade and trying not to scrape any paint off. I had to tape it while it was all put together so everything would be exact, then I went and cut the drawers out. I don't know how to describe my process sometimes so I hope you can understand what I am saying. After taping, I did one more coat of white just in case anything were to seep under the tape, at least it would be white and you wouldn't notice. Got that done, painted it mint. Went to the hardware store to pick up knobs and thought "How cute would mis-matching the knobs be?!" then I thought "VERY cute!" SO I did that. I bought all sorts of knobs. Put them on and it turned out pretty stinkin cute. Voila!
Here is kind of a before & after, minus the knobs. I don't know.
Chalk Paint - first attempt!
Chalk Paint Side Table
I have heard many wonderful things about chalk paint and in all reality I have been wanting to try it forever. The only thing that held my back was the price. I decided before I attempted making it myself or buying a giant, expensive can, I would give one of the sample sizes at home depot a try. And I am really glad I did! This stuff is great. No sanding AND no priming... I'm in. So I may have not splurged on the paint at all, but to finish it off I definitely splurged on the wax. Let me tell you, Annie Sloan ain't cheap! Over $50 for 2 cans of wax, all I could think was "This better work and be the most amazing thing in the history of ever" And I have to say, the distressed look is phenomenal. I couldn't do that without this wax, there is no way. I hate sanding, plus I'm not that great at it. But with the chalk paint and texture on the furniture, you don't have to do much to get that great, antique finish. SO I am SOLD on this chalk paint. Count me in. Next time I will try making my own though, just out of pure curiosity.
| Before the wax |
Dresser Restore
Mint Green Chest of Drawers
This piece... ugh. What a giant pain in my ass. I mean, I did not get a chance to fully inspect this before it was delivered because the lady had it FULL of junk. So my mother in law delivers it to me, I just give it a quick glance and all looks good, nbd. I open it up and the drawers have holes and cracks and it's missing this and this is broke, blah blah blah. It was just a hot, hot mess. So I wasn't very inspired. I started off just painting the top white and waxing it with Annie Sloan clear and dark wax. I left it like that for a few days because I thought I was done haha. No, I kept walking by it in my garage and I just couldn't stand the sight of it. Brown and white, those are not my 2 favorite colors.
I had some paint that my father in law had given me, so I decided to mix in a little white paint to tone it down and make it a little more "minty". I am very happy with the external results. As for internal, not so much. The drawer stops are apparently very vintage and nobody could help me find replacements. Only about half the stops were actually still there, so the drawers would slide back too far and it wasn't flush with the outside of the dresser. So I rigged it with some U-shaped staple things instead. Cool. Next was to tackle the shitty drawers. I filled all the holes and cracks, even stapled a few places together, added some nails to reinforce. Lots of stupid work. It definitely did not make the drawers more appealing. No one wants to see that crap. Actually let me back up one second, I don't know how to make drawers so the route I chose was the "easy" way out. Someone else can make a new drawer bottom if they MUST have it. I am not selling or buying high-dollar pieces, so my cheating ways are what works. Continuing... the drawers looked like crap, no one wants to see that. I decided contact paper would be the way to go... and it works.
It looks really nice. It just has some issues. If you want a cute dresser, this one is it! I have actually been talking myself out of replacing the dresser I have in my guest bedroom with this one... we shall see. But I really hope someone buys it so I don't have to move it up the stairs into my room haha.
Subscribe to:
Posts (Atom)